Mountain biking is one of the best (if not the best) sports in the world, although we’re all probably a bit biased. The rugged environment we get to ride our bicycles through creates so many challenges and many rewards, but also wears out many of the moving parts of our bikes if we don’t properly look after them. Tyres, drivetrains and even rims all take a fair beating – and that’s just from riding and staying upright.

Riding, racing, hike-a-bike – all of this will eventually take a toll on your cleats.
Worn tyres are easy to spot, and pretty easy to replace. But the cleats on your shoes that work with your clipless pedals can tend to go unnoticed. Some cleats last longer than others. The brass cleats for Crank Brothers and Time pedals don’t have an incredible lifespan, but the hardened steel of Shimano’s SPD cleats do. Still – they wear out, and as it’s a slow process it tends to go unnoticed until you’re pulling out accidentally.

Want to know how to service SPD pedals – we show you how.
If you have invested in a bike fit, you might be wary about putting new cleats on. The painstaking effort, and expense, of getting the cleats just so on the sole of your shoe could be undone so simply. Or, with a few very basic steps you can make sure you get the position spot on.

Grab your new cleats, a permanent marker, a sharp pokey tool (Park Tool’s Utility Pick Set is very useful) a 4mm allen key and some grease, and you’re set.
Mark your current SPD cleat location
Use the marker to outline the location of your cleat, get the tip right in against the edge of the cleat. You might need to clear some dirt away to do this.

Use a sharp tool to clear away any of the grit and dirt from the bolt heads, and then repeat with the marking and cleaning on your other shoe.

Remove the old SPD cleats
With the position marked with permanent marker, on a clean sole, use a good 4mm allen key to undo the cleats. Ensure you have cleaned out the head of the bolts. These see a lot of bad conditions so they won’t undo easily for most people. Use a little downward pressure and do not use a ball-headed allen key.

If they are really stuck, try some penetrating lube and come back later. Or take your shoes to a trusted bike shop.
Clean up the area under the SPD cleats
So many muddy memories! And they are all here, dried up under your cleat.

Grab whatever your sharp tool of choice has been, and chip away at the dried up crud. It should be pretty quick. You can give it all a wipe too, but only if you used permanent marker, not a whiteboard marker!

New cleats usually come with new cleat plates too. Pull your innersole out, and if they’re easy to replace, do it, note the orientation as you remove them. You should be able to get the whole cleat pocket cleaned up nicely, so fitting new cleats is a breeze.

Fitting the fresh SPD cleats
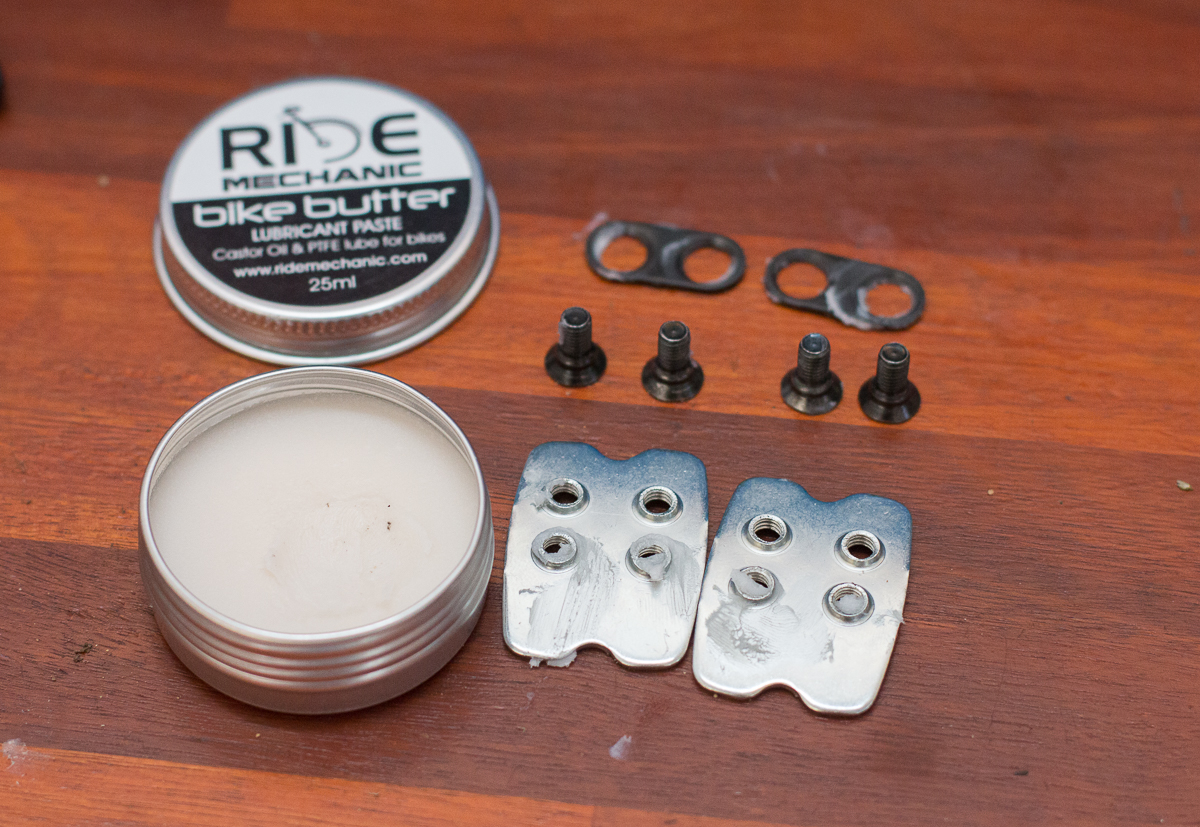
Put some grease on the threads of the cleat plate, and around where the bolt head will sit for the cleat washer. Ride Mechanic Bike Butter is perfect for this as it lasts so long.

Slide the new cleat plate into the shoe from inside the shoe. Use your hand to hold it in place and start fitting the new SPD cleat, lining it up with your markings. Pay attention to be exact, and not just close.

Tighten the bolts evenly to about 5-6Nm – so about the same as a stem bolt or seatpost clamp if you don’t have a torque wrench. Do the other side and compare.

You should have two fresh new SPD cleats sitting exactly where the old ones were. Run a quick driveway test, as if your old SPD cleats were getting a bit loose you may have tightened up the release tension on your pedals enough to cause some problems on the trail.
If you really like having the right tool for any job, you could look at the Ergon TP1 cleat tool, which helps get the cleats in the right spot every time. If you have more than one set of shoes, this could be a good benefit.
